With Microsoft Information Protection, you can apply sensitivity labels to files, emails, and containers such as SharePoint Libraries. These labels apply protection which, in the context of files and emails, really means encryption using AES-128 or 256 (key size depends on file type). The great thing about Information Protection is that you control an access control list of who is allowed to access the content and it’s managed as a cloud service by Microsoft. The document or message, when opened, checks who is authenticated (who is signed to Outlook or the Office 365 app, for example) and only allows access if they have permission.
Typically, administrators create sensitivity labels that are preconfigured to say who gets permission and what level of permission. For example, a label called Confidential may limit access to users whose account ends in yourcompany.com, and prohibit changing the label. However, in this article, you’ll be guided on the let users assign permissions setup option of sensitivity labels. Using this feature allows the end-user, rather than an administrator, to control access rights. Here’s how to set up such a label, and the experience of both label-assigner and recipient.
Create and Publish a Sensitivity Label
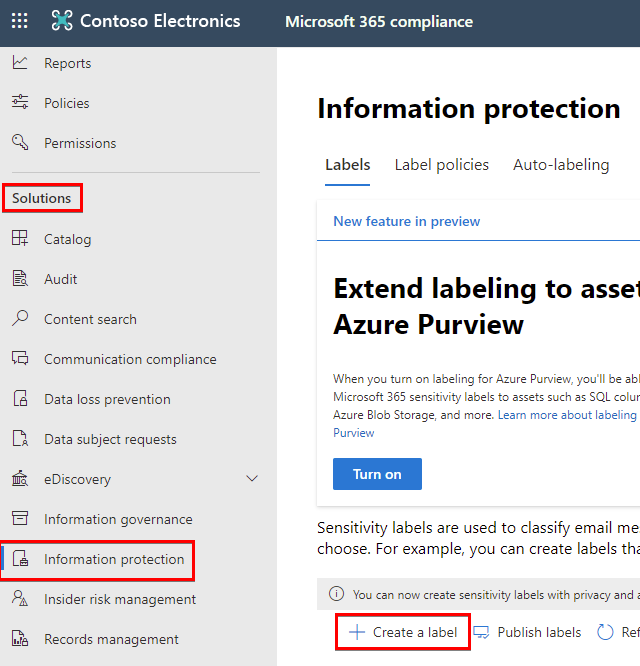
Navigate to the Microsoft 365 Compliance Centre at compliance.microsoft.com. Under Solutions, click on Information Protection.
Click + Create a label which takes you into the New sensitivity label wizard.
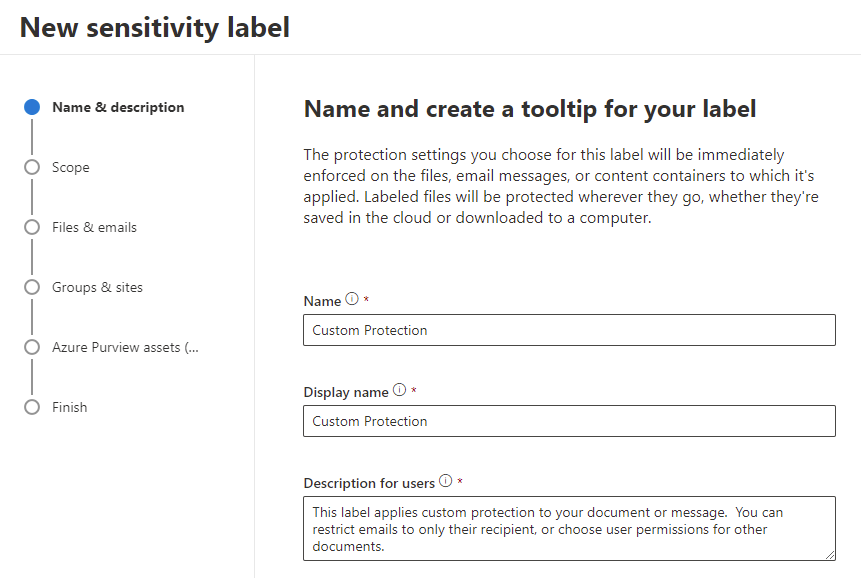
 3. You need to give your label a name, display name, and description. The name is seen only by admins when configuring, but the display name and description are seen by users in their software like Office and Outlook, so choose something appropriate and descriptive so your users know exactly what choosing this label does.
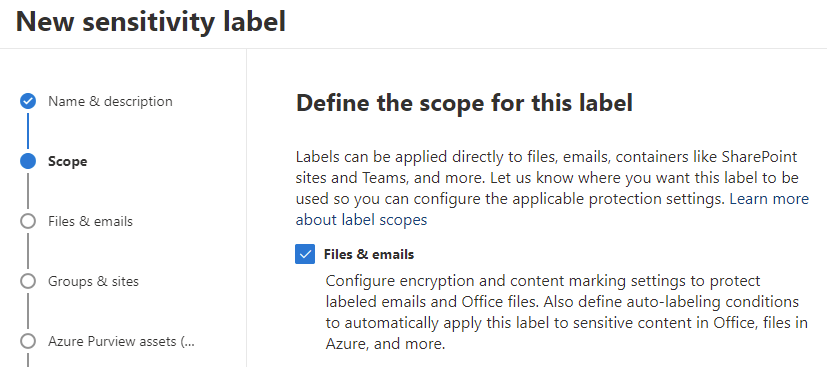
 4. On the define the scope for this label page, only choose files & emails.
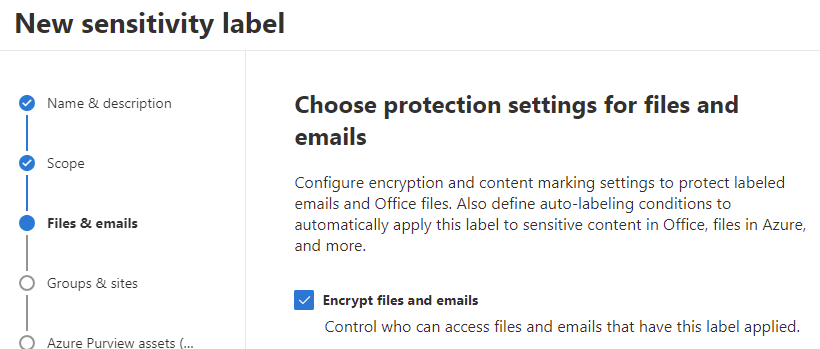
 5. On the choose protection settings… page, only choose to encrypt files and emails.
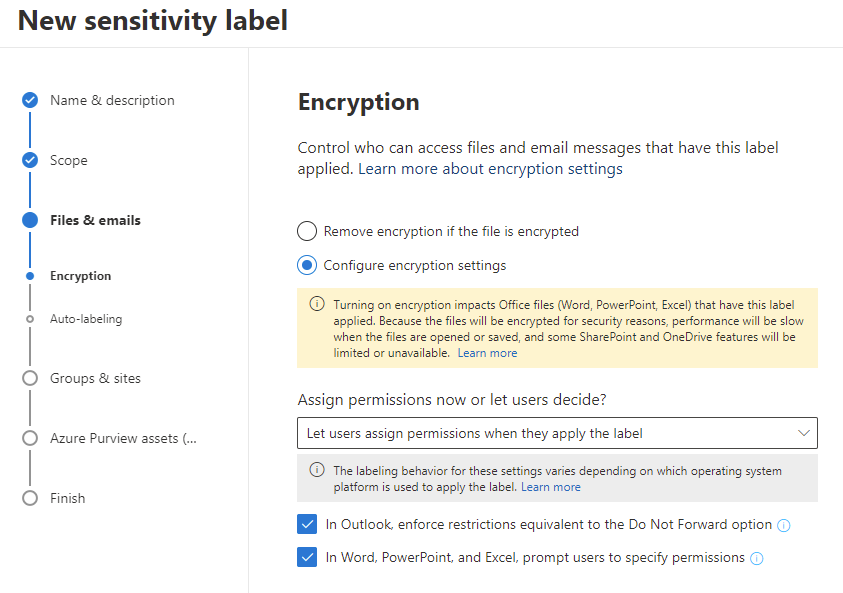
 6. The encryption page is where you can choose preconfigured access rights, but in our case, we want to choose to let users assign permissions when they apply the label. Additionally, check the boxes to enforce restrictions equivalent to the Do Not Forward(DNF) option in Outlook and in Word, PowerPoint, and Excel, prompt users to specify permissions.
By choosing to enforce DNF, you automatically apply a collection of rights to email recipients. You don’t have to apply it, but I’ve done so to demonstrate how it works. There is a separate right (“action permission”) that can be assigned to files called Forward, so you may think all DNF does is not grant this right. In fact, Do Not Forward additionally prevents users from printing and saving, and uses the email recipients list dynamically to grant read permission only to them. Additionally, if there’s an Office attachment without protection applied, it will have printing rights restricted.
 7. The next page, auto-labelling for files and emails is for Azure Information Protection Premium P2 licensees who want to automatically apply a label if they’re creating a file or message with a content condition such as a type of sensitive information type. This option will not work for labels that allow users to assign permissions.8. Proceed through the wizard without changing any more settings, then finally review your settings and finish, choosing to create label.
 9. Now the sensitivity label exists, we need to publish it. Publishing means making available to users to assign. Back at your list of labels, click publish labels.
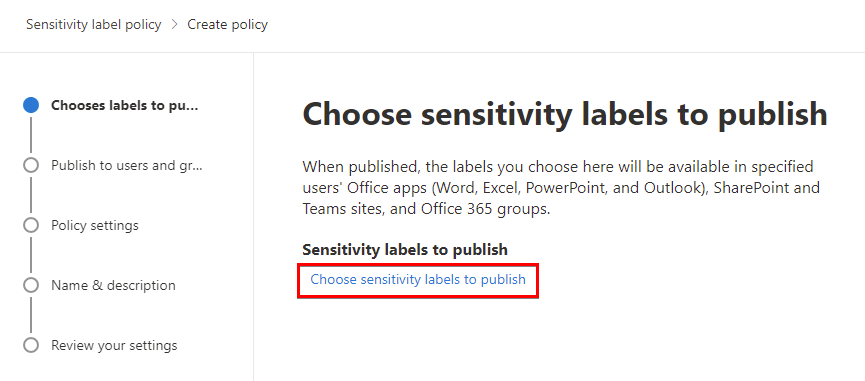
 10. In the first page of the publication wizard, choose sensitivity labels to publish and select the one just created. You can select multiple labels (if you need the group of labels to have the same publication settings), but in our example we only need to choose the one.
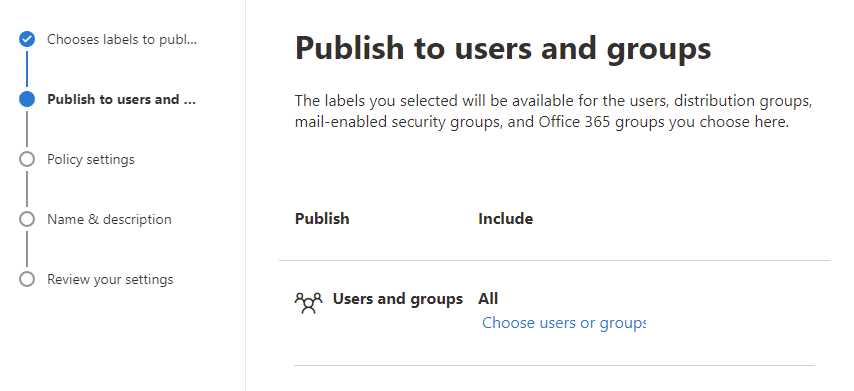
 11. In the publish to users and groups page, choose who can apply this label. For this demonstration, I’m leaving it as all users and groups in my tenant. Note that users must be licensed with Azure Information Protection to assign licences (but anyone can open protected content).
 12. In policy settings, I choose not to apply any policy settings, but you could potentially use this page of the wizard to mandate a user must assign a label, or if they are going to change the label to a lesser one, justify their doing so.
- Finally, name your policy. This is only seen by administrators during configuration. Review and finish your label policy, then submit to make the label live for the users.
User Experience
Protecting documents in Office
In Excel, Word, or PowerPoint, select your label from the ribbon toolbar.

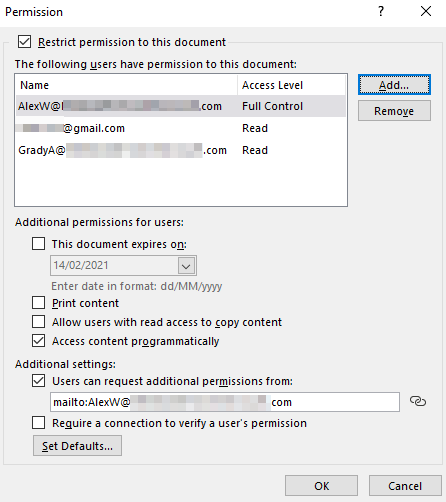
You are presented with a Permission window, within which you can restrict permission to this document. If you click more options, in addition to read/change permissions, you can control copy, print, expiration, and offline access. As the owner of the file, I will retain full control.
Opening protected documents
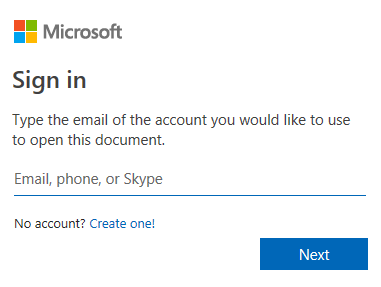
If the file is opened by someone without permission, they will be asked to sign the Office app into an account that does have permission.
Failing this, they are informed the file cannot be opened.

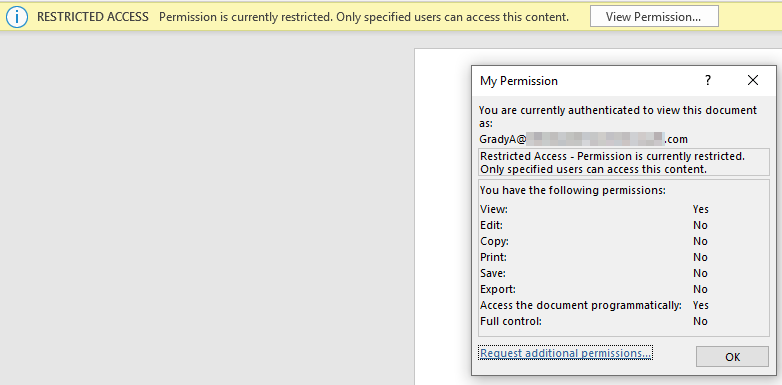
If the user does have permission, the Office file authenticates them against the access list by connecting to the Azure cloud service. They will see a yellow RESTRICTED ACCESS bar in the app which lets them view permission.
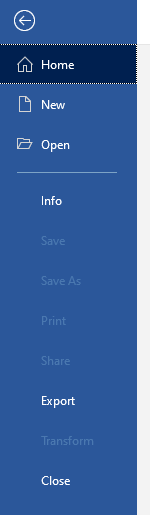
When the user attempts to do something that violates the permissions, the option will be blocked or greyed out. In Word on Windows, a screenshot results in only black pixels.
Protecting emails in Outlook
As with the other Office app, choose your label from the ribbon toolbar. When the label is applied, a message displays the description.

Opening protected emails as a recipient
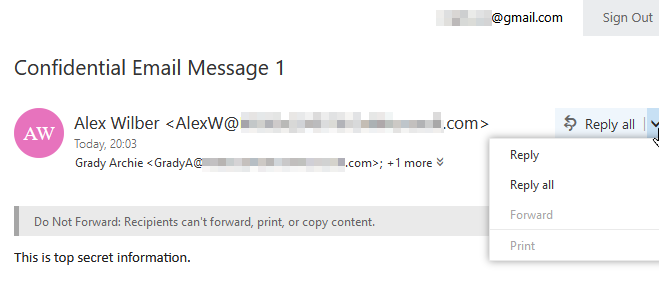
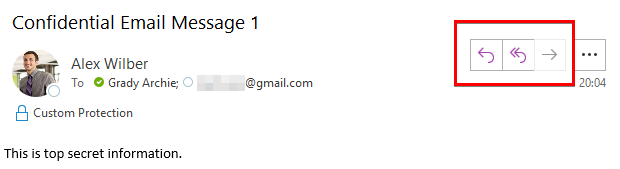
An Office 365 user sees the email message normally, but their abilities are limited. Note below, where the forward button is greyed out.
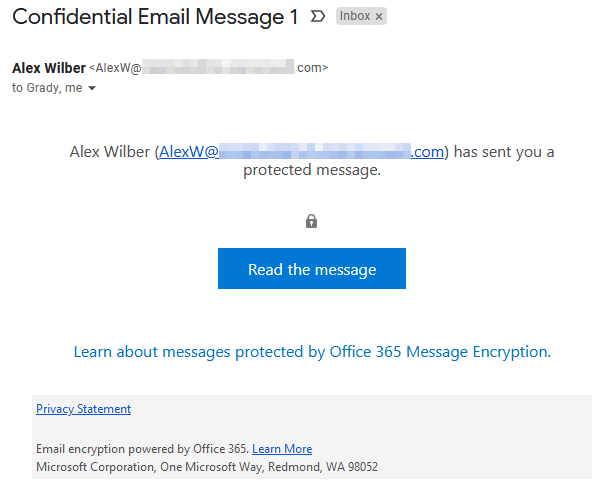
A non-Office 365 user sees the email message delivered with a URL to read the message on an Office 365 web page. This is because Microsoft can’t really interact with other email providers and prevent them from forwarding, printing, and so on. However, it can have some control over a website of its own.
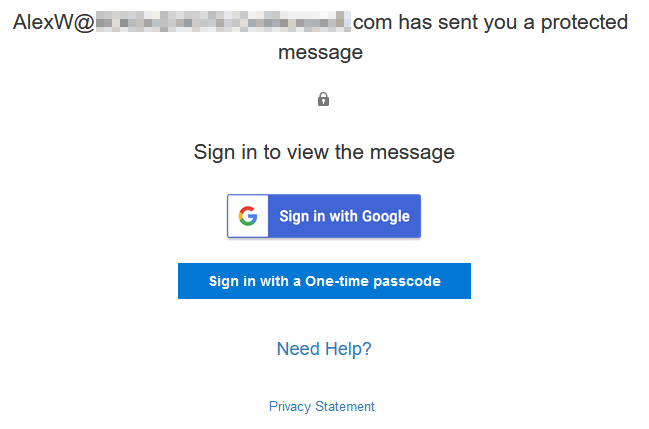
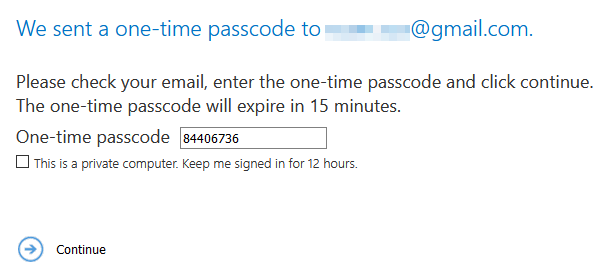
When the recipient follows the read the message link, they will be asked to authenticate with a one-time passcode (OTP) that is emailed to the recipient. This is so that if the URL is forwarded, it still can’t be accessed by anyone other than the original recipient. If the recipient uses Gmail, which is actually federated with Azure AD, they can sign in with their Google account instead of the OTP.
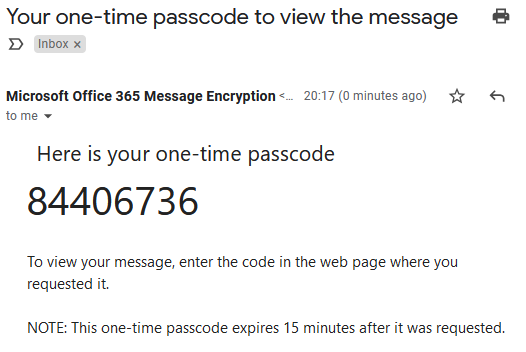
The OTP arrives at the original recipient’s inbox but is only valid for 15 minutes.
Back on the web page for the email, you have the option to remember your identity for twelve hours.
Finally, you get to your email. It’s not rocket science to get around the restrictions (screenshots…), but the web page renders with controls that prevent you from copying and pasting the body of the email, from printing, and you only have the option to reply. As with most DLP solutions, this is about preventing accidental data loss and may just putting a few road blocks in someone’s way.