Unified labels refer to a movement whereby Azure Information Protection (AIP) labels are now being replaced by sensitivity labels. Sensitivity labels offer encryption, watermarks, etc as AIP labels did before them, but are now managed in the new Microsoft 365 Security Centre, with several other benefits beyond the scope of this post.
With this change comes a new AIP client, called the unified labeling client, that replaces the old one, now called the classic client. The AIP unified labeling client will refer to the M365 Security Centre to download labels, but note that (and ‘unified’ gives this away) labels created on either the old Azure AIP dashboard or new M365 Security Centre will sync to each other after you have enabled unified labeling. Current guidelines from Microsoft are that, unless you have a use case that isn’t a feature of the unified labeling client, this is what you should be installing. This post holds your hand through a deployment of the client using Intune.
1. You can only deploy Win32 apps using Intune to Intune standalone devices. That is, not co-managed with SCCM. Verify the status of your devices in Intune in Devices - All devices and refer to the Managed by column. You are looking for devices only managed by MDM.
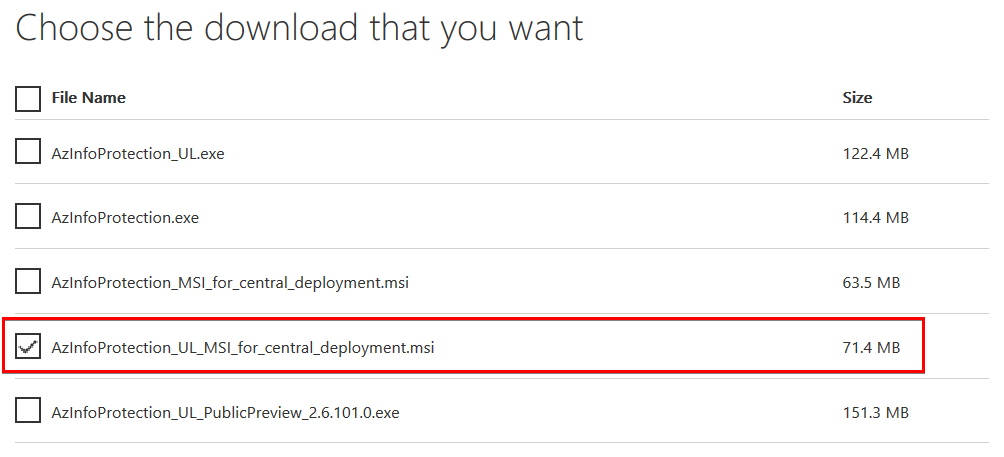
 2. Download the client, AzInfoProtection_UL_MSI_for_central_deployment.msi, currently hosted here.
 3. You cannot deploy Win32 apps without first packaging them into INTUNEWIM files using the command line based Microsoft Win32 Content Prep Tool, currently hosted here.
 4. Place the client MSI in its own folder and run the Win32 Content Prep Tool using this syntax:
.IntuneWinAppUtil.exe -c C:AIP-ULC -s C:AIP-ULCAzInfoProtection_UL_MSI_for_central_deployment.msi -o C:AIP-ULC
Where -c is the source folder path that will be archived into the INTUNEWIM, -s is the MSI file, and -o is the destination folder path for the INTUNEWIM.
 5. Navigate to Intune > Client apps > Manage > Apps > Add and specify a Windows app (Win32)
 6. Upload the INTUNEWIM under App package file.
 7. We now fill out the details of the deployment. First is app information which includes the name, description, publisher (all mandatory), and category, etc.
 8. Next you specify the msiexec commands and device restart behavior. For the install command, I use:
msiexec /i "AzInfoProtection_UL_MSI_for_central_deployment.msi" /qn /norestart /l*v "C:ProgramDataMicrosoftIntuneManagementExtensionAIPUC.log"
What this specifies is /qn for no UI, /norestart for obvious reasons, and /l*v to specify a verbose log output to the IntuneManagementExtension folder, which is a directory that contains other Intune logs.
9. Next we specify OS and hardware requirements. Note this is simplified for demonstration purposes but there are quite extensive prerequisites that should be investigated before a production deployment.
 10. Then detection rules so Intune can ascertain if the app is already installed. I just use the IdentifyingNumber of the install.
 11. You can next configure return codes and your Intune deployment scope tags, however I’ll skim over those.
12. The upload commences after you save your new app.
 13. If not just making it a requirement for all users or groups, Intune apps can be assigned to groups, which is suggested for test deployments at least. Navigate to the Assignments of the app > Add group > Assign. I have made the assignment type for this required which automatically installs for all users and devices in the scope. I choose to permit toast notifications and deploy as soon as possible, but note these are configurable.
 14. One neat page to check out on is on individual devices. Devices - all devices > %computername% > Managed apps and note the list of managed apps either deployed or queued. When you click into these, it also shows you the ongoing steps of the deployment.
 15. On the client device, you are indeed notified of ongoing updates.
 16. Jumping back to the Managed apps screen per device, we can track and see the installation complete successfully. Also note the collect logs option for if you encounter errors.
 17. Finally, we can see the Azure Information Protection Viewer within Recently added, but note that this didn’t just install the viewer; it also installed the explorer extension and replaces builtin Office app functionality for labeling.

Two additional pieces of information to round off this post.
- Any version of Microsoft Azure Information Protection installed with a 1.x prefix is a classic client and anything with 2.x is the unified client.
- Windows Update will now update the unified labeling client automatically on the general availability channel. The updates are added to WU just a few weeks after they’re available for independent download, and can therefore also be controlled through traditional channels such as WSUS.