After being released to Public Preview last month (July 2020), I have finally had a chance to test out Microsoft Endpoint DLP. The management of endpoint DLP - that is, preventing sensitive information from leaving the host computer - comes up frequently in my discussions with companies I help with security and compliance. Often, they have third-party tools doing it and are looking to centralise under Microsoft’s stack.
In this blog, I’ll give an overview of:
- What Endpoint DLP is and what I think it can replace
- Prerequisites (licenses, software, etc)
- How you get your devices protected by it (“onboarded”)
- Configuring protection settings
- User experience
Overview
Until now, the initial recommendation for a first-party way of DLP on machines was Windows Information Protection (WIP), which I have blogged about before. WIP is a very powerful tool for encrypting enterprise information and reducing it’s (mostly accidental) spread away from devices or work apps/sites, but it’s a bit of sledgehammer approach. Although powerful, it can be difficult to wrap your head around its intricacies, and therefore easy to break (for example, I have never gotten Azure Information Protection integration to work).
With Endpoint DLP, you are given a more intuitive way of managing data loss prevention by centralising its management under the existing policies managed in the Compliance Centre at compliance.microsoft.com. This way, you can protect sensitive information such as credit cards or PII from a single policy covering the communication tools such as Exchange and SharePoint, but also the Windows 10 device. Additionally, you are not encrypting files as you do with WIP - only blocking their movement. While this feature of WIP makes it great for BYOD (revoke the keys), I do wonder how many people actually use it fully in that context, and even if they do, AIP is probably a better solution.
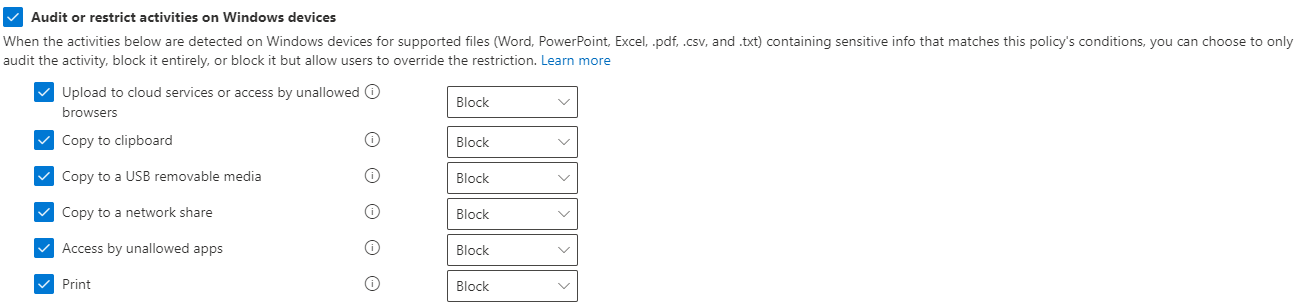
Your options for Endpoint DLP are listed below, and I test each later in this post. These can be run either in full block mode, audit only mode, or audit with permission for the user to override.
- Upload to unsupported cloud services, browsers, or apps
- You specify the services (domains), browsers (from a list, or choose your own), and apps (executable names).
- Copy to clipboard
- Copy to USB
- Copy to a network share
- Access by unallowed apps
Prerequisites / limitations
- Endpoint DLP is available under the full M365 E5 license or it’s smaller offsprings E5 Compliance and E5 Information Protection & Governance.
- It is a native tool, which means you don’t need any additional agents or software except a small onboarding process. This process is the same as the one used for Microsoft Defender ATP, to provide telemetry, so if you have already onboarded devices to the MDATP service, you are good to go.
- It is supported on Windows 10 1809+ and Edge (Chromium).
- Devices must be Azure AD Joined or Hybrid Azure AD Joined. For more on Hybrid Joined devices, refer to my blog post here.
- File types supported:
- Word, PowerPoint, Excel
- CSV, TSV
- C, Class, CPP, CS, H, Java
Onboarding
As mentioned earlier, onboarding for Endpoint DLP is the same as for Defender ATP, so if you’re familiar with that or have already done so, you can safely skip this.
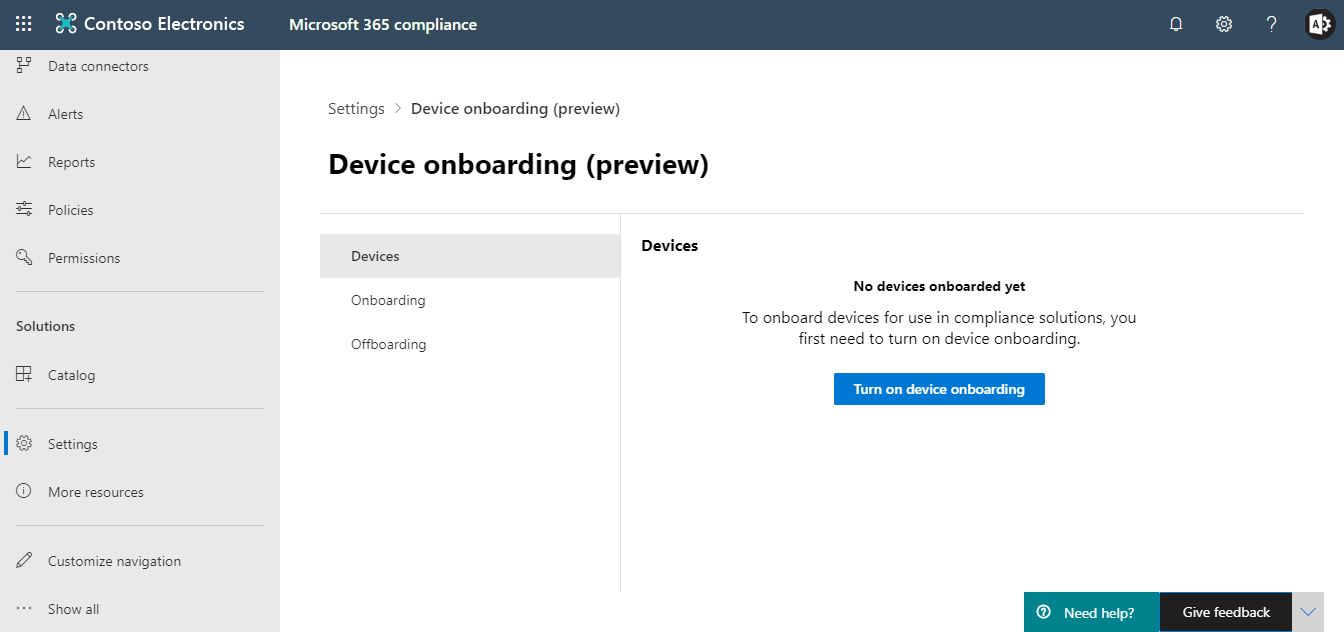
1. Open compliance.microsoft.com and navigate to Settings > Onboard devices. Choose turn on device onboarding. If you don’t have the appropriate licensing, you won’t be able to proceed.
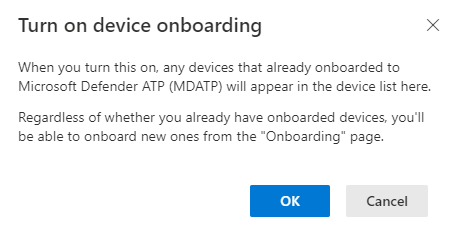
 2. Acknowledge the warning that any Defender ATP devices will now also be presented as Compliance Centre onboarded devices.
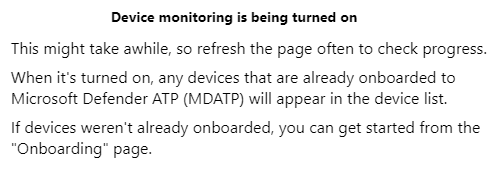
 3. You are presented with a warning that device monitoring is being turned on. In my case, I had no MDATP in this tenant and could proceed to the onboarding page within a minute or two.
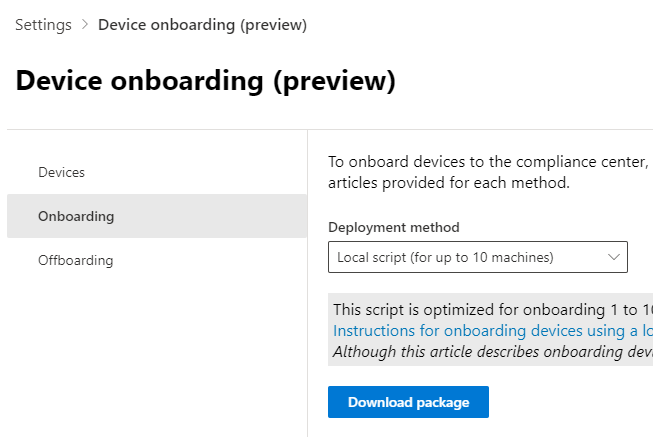
 4. You have a few ways to onboard depending on the tools at your disposal:
- Script(s)
- Group policy
- ConfigMgr
- Intune
If all the above at your disposal, Intune is my preference. For the sake of this blog though, I opted for a local script, which will be available to everyone.
5. Choose Local script from the drop-down and download package. This gives you a ZIP called DeviceComplianceOnboardingPackage which extracts a single file, DeviceComplianceLocalOnboardingScript.cmd. Again, if you’ve ever used or played about with MDATP, this will all be very familiar.
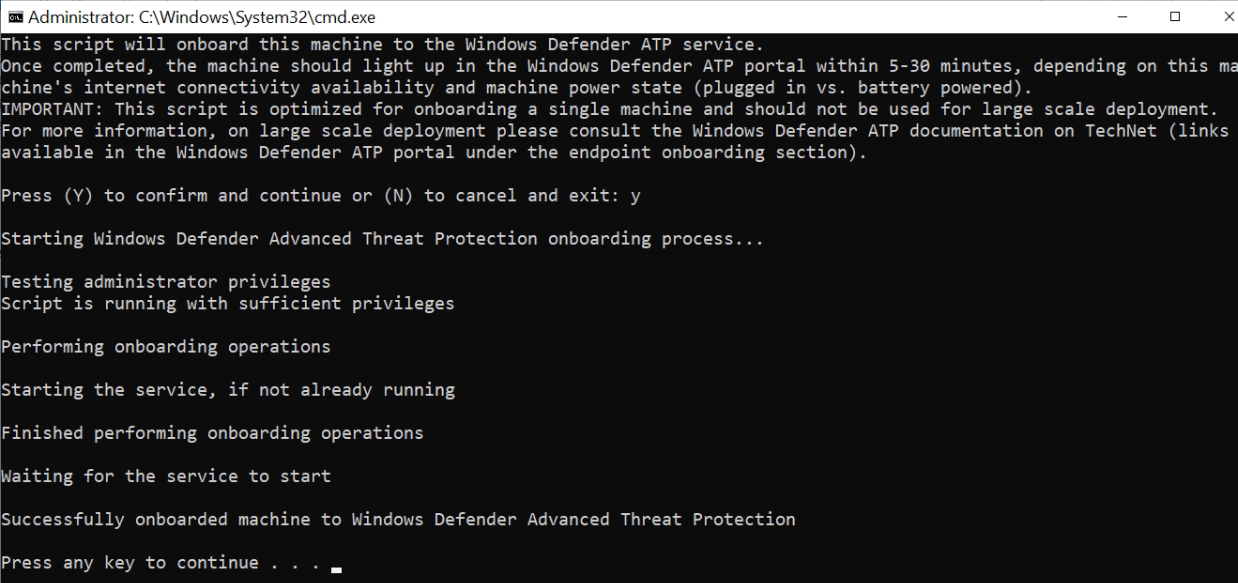
 6. As a local administrator, run the script on the device you’re going to onboard and, when prompted, enter Y to confirm.

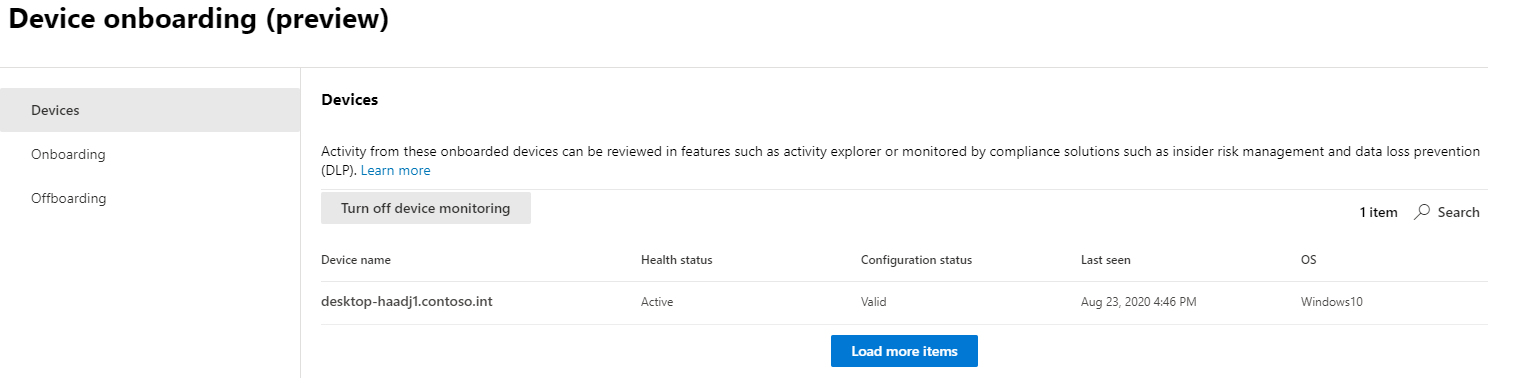
 7. Almost immediately, the device showed in the devices page of device onboarding in the Compliance Centre.
Setting up DLP policies
Endpoint DLP settings are set up in the same interface as existing DLP policies in the Compliance Centre. However, before we get into setting up an actual policy, we’ll look at a new tab called Endpoint DLP settings. These settings are universal to all Endpoint DLP policies we create. Note the page is currently in preview and I have found it buggy, having to refresh constantly for changes to show.
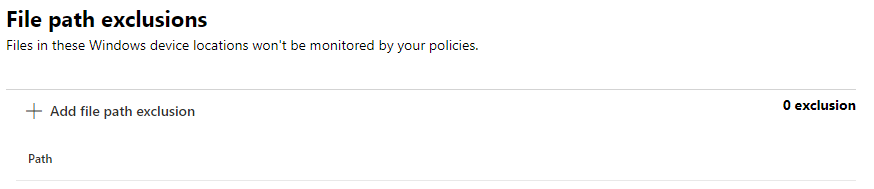
The first setting is file path exclusions and does what it says on the tin. You can put in wildcards and variables too, and the directories you specify will be completely excempt from any Endpoint DLP. When you specify a folder, you are also specifiying all its subfolders.
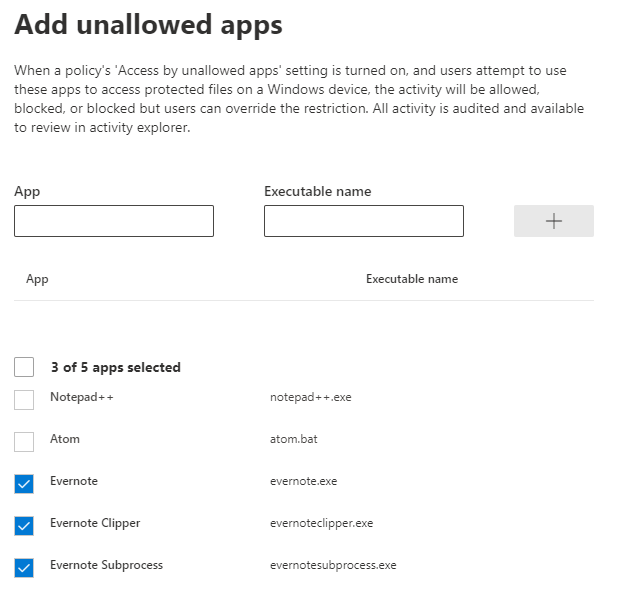
Next is unallowed apps in which you specify the process.exe name and an identifier. In the example below, I have added Evernote apps as unallowed, and Endpoint DLP will prevent me from actions such as copy and paste to them (if I specify that control in the policy).
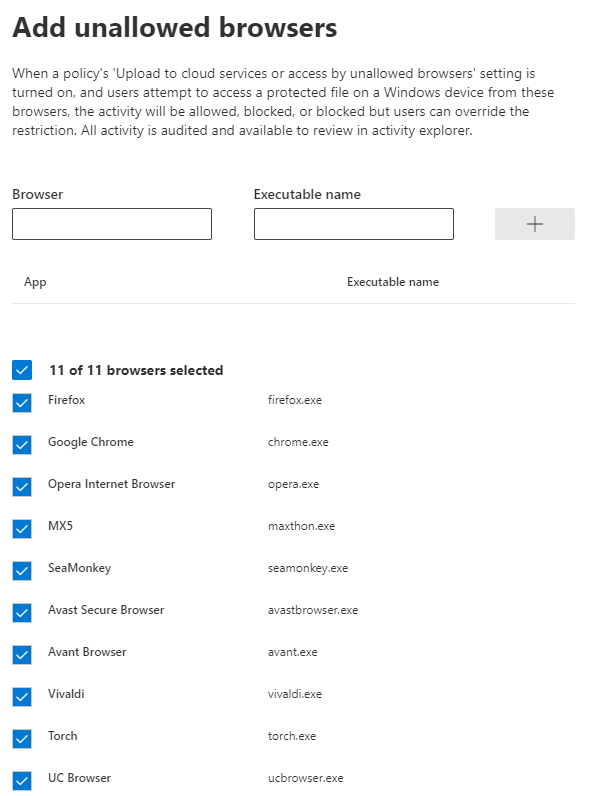
 Unallowed browsers are an extension of the above and will prevent actions such as uploading files to the browsers. You can put in your own process.exe or choose from a list of known ones.
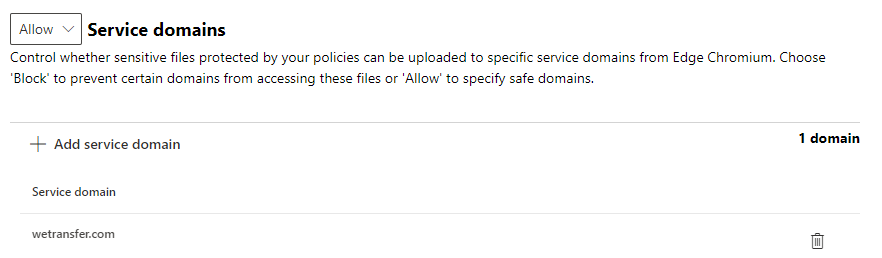
Finally, you can configure service domains. This one caught me out a little. As you can see to the left of the screenshot, there is an allow or block category which lets you specify if a website domain can or cannot have files uploaded to it in Edge (Chromium). Note that when you add a service domain (no wildcards supported), you can’t actually then see if it’s set as allowed or blocked. For example, I changed the drop-down to block then added wetransfer.com. I then changed it to allow, assuming this would change the filter view; but it didn’t. Not a great experience.

To now apply these settings to Endpoint DLP, you need to create a policy targetted to users. In this demo, I create a simple one to prevent the loss of IP addresses. I won’t cover creating DLP policies in great detail as others have done it to death (and better than I could), so I’ll focus on the endpoint stuff.
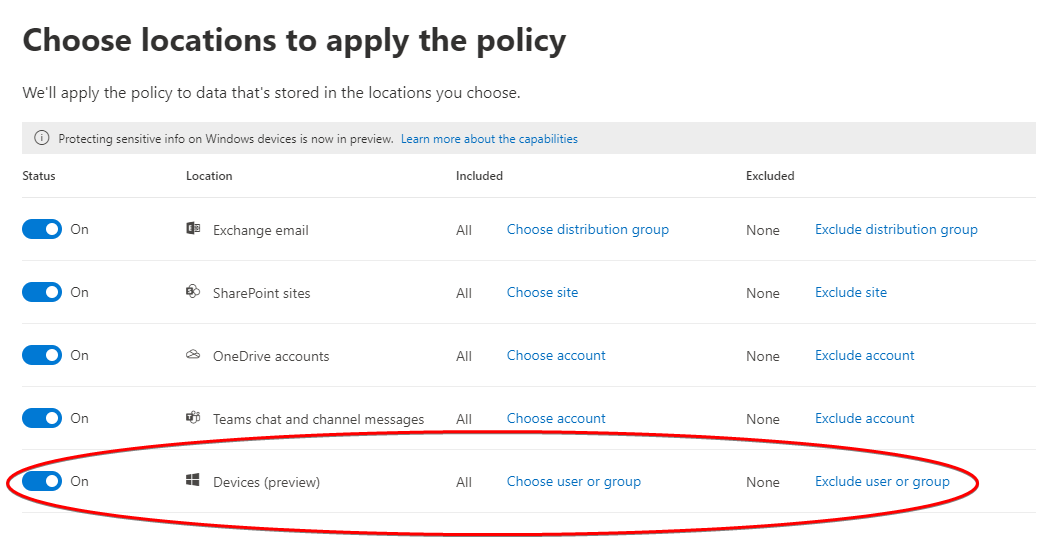
In the choose locations to apply the policy page of your policy, note a new location called devices.
In the actions for endpoint DLP, you have the aforementioned options.
Admin Experience - Telemetry
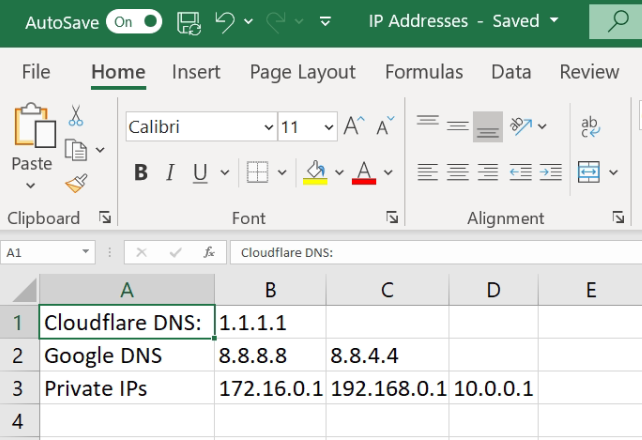
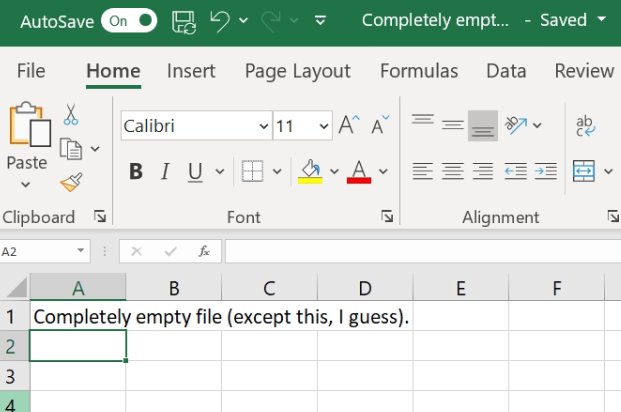
I created a test file called IP Addresses with the sensitive information configured above (IP address type). I also made a file I knew wouldn’t have sensitive information in it for false-positive testing.
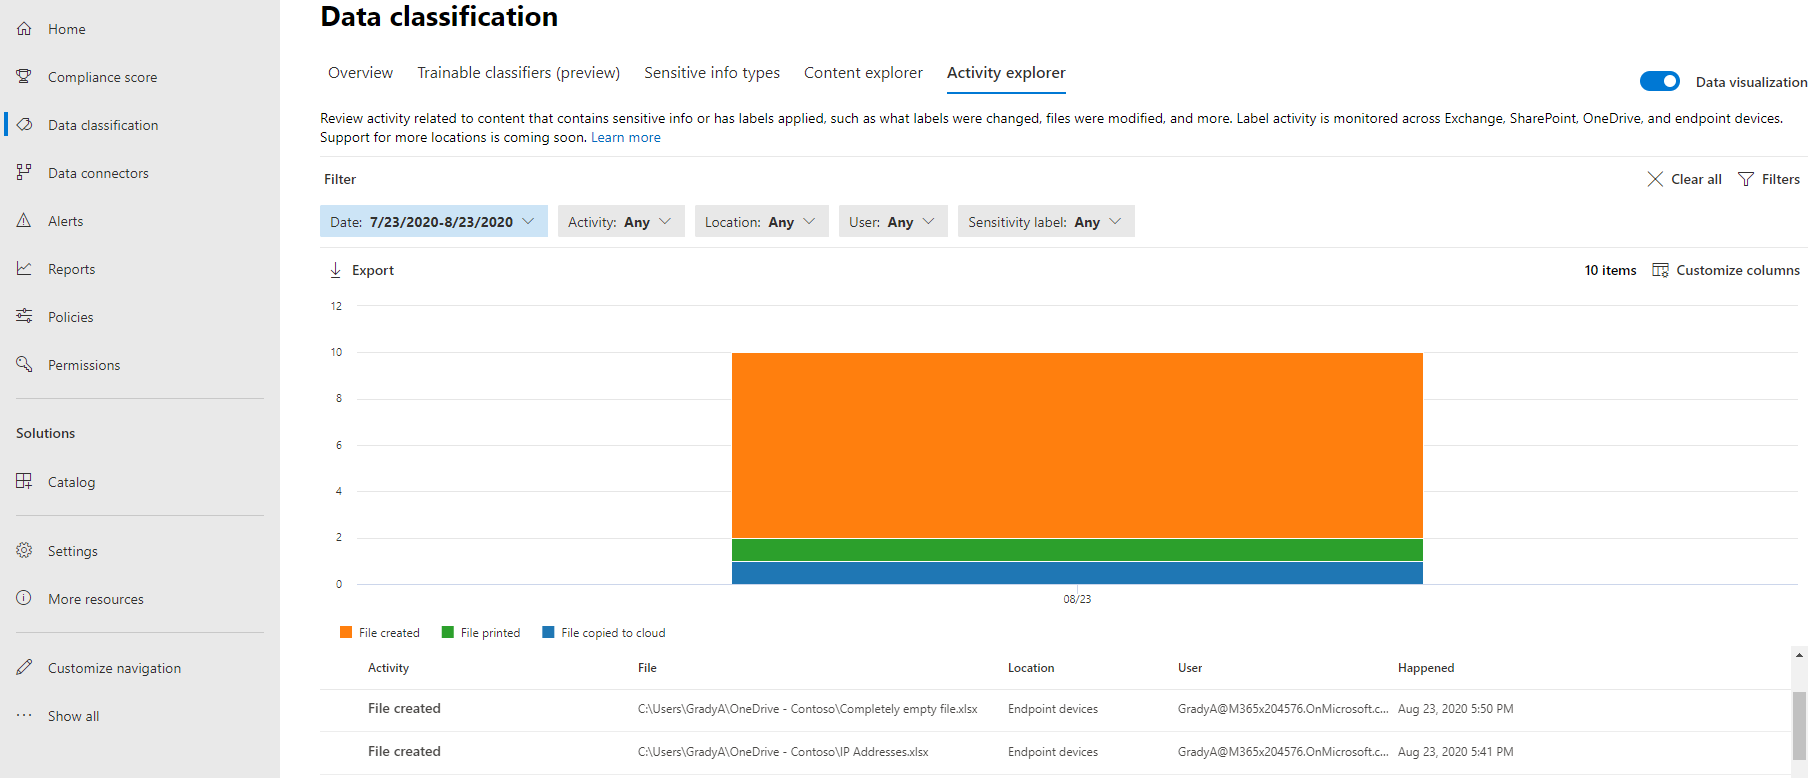
As an administrator, I can visit the data classification page in the Compliance Centre and, for onboarded devices, see some interesting (bordering on intrusive) information about the files the device is now working with.
As you can see towards the bottom of the screenshot below, not only can I see file activity of sensitive files, but also any files (my completely empty file is shown).
User Experience - Blocks
s