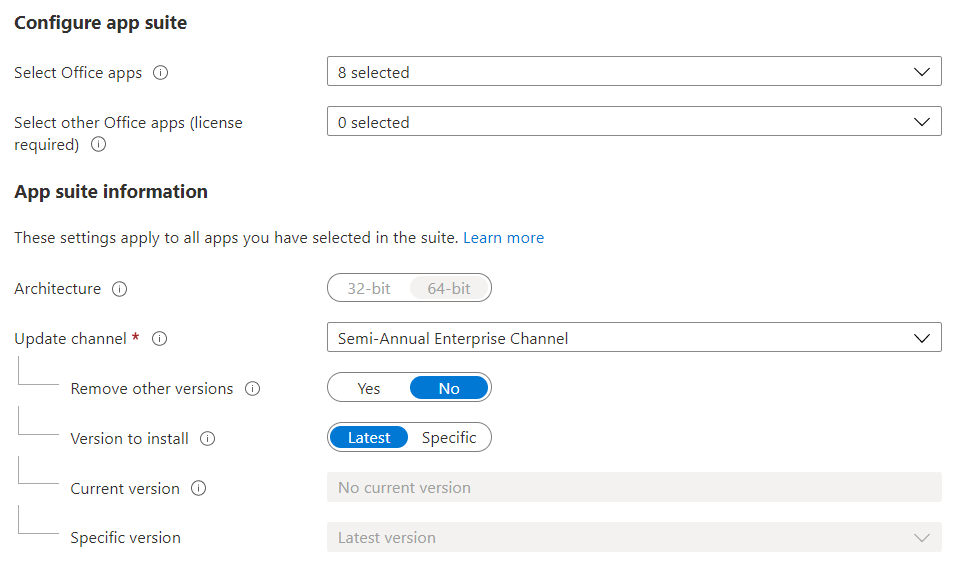
Office 365, or Microsoft 365 Apps for Enterprise, or whatever it’s called this month, can be deployed by Intune to Windows 10 devices using a built-in wizard. The advantage of this is you don’t need to package anything: you fill out some nice drop-downs and options in a GUI, assign it like any other app, and Microsoft takes care of the rest.
In the background, this is using the Office CSP to deploy the client, which makes it quite unique compared to the deployment of other apps, which are best done with Win32 packaging. I wrote a general guide about that for Petri.com, available here.
Recently, there have been problems deploying Office 365 apps with this Office CSP method. From what I read online, Microsoft support said this is due to a CDN replication problem and, at the time of writing, is listed under service health advisory IT262216.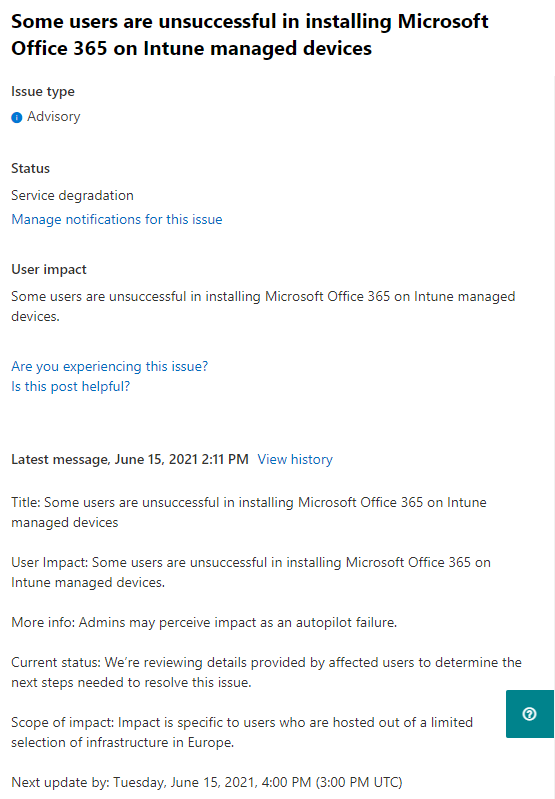
Whatever the root cause of the Office CSP deployment problem, deployments were fine using the standard Office Deployment Toolkit approach, as recommended by many on Twitter. In this blog, I’ll cover how to get that working with Intune.
Big thank you to Peter Klapwijk, Alex Durrant, Rudy Ooms, and Chris Roberts for encouraging the Win32 approach. Thank you to DarrenG for pointing out the Intune health advisory.
Deploying Office 365 as a Win32 App
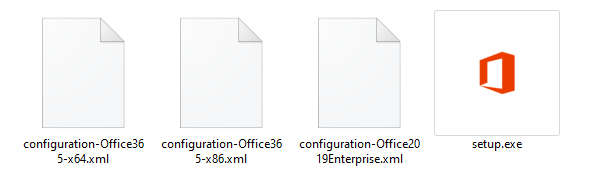
Firstly, download the Office Deployment Toolkit and extract the contents to a folder. You will end up with setup.exe and some XML files. The XML files can be disregarded as we’ll be creating our own, which manage the settings for our deployment.
You can create your own XML from scratch, or use config.office.com to build one. The UI for this is very simple, so I won’t guide you through that. You’ll end up with an XML that will be similar to the example below, which I’ve saved as install.xml.
<Configuration>
  <Add OfficeClientEdition="64" Channel="Current">
    <Product ID="O365ProPlusRetail">
      <Language ID="en-us" />
      <ExcludeApp ID="Groove" />
      <ExcludeApp ID="Lync" />
      <ExcludeApp ID="Bing" />
    </Product>
  </Add>
  <Property Name="FORCEAPPSHUTDOWN" Value="TRUE" />
  <RemoveMSI />
  <AppSettings>
    <User Key="software\microsoft\office\16.0\excel\options" Name="defaultformat" Value="51" Type="REG_DWORD" App="excel16" Id="L_SaveExcelfilesas" />
    <User Key="software\microsoft\office\16.0\powerpoint\options" Name="defaultformat" Value="27" Type="REG_DWORD" App="ppt16" Id="L_SavePowerPointfilesas" />
    <User Key="software\microsoft\office\16.0\word\options" Name="defaultformat" Value="" Type="REG_SZ" App="word16" Id="L_SaveWordfilesas" />
  </AppSettings>
  <Display Level="None" AcceptEULA="TRUE" />
</Configuration>
Like most XML, this builds a reasonably intuitive code that shows exactly what the deployment is doing.
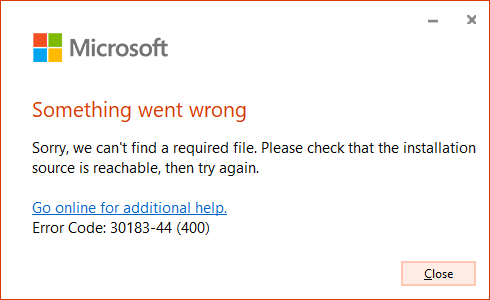
Important Note: You’ll see the Language ID above is specified to en-us. In my testing, the default of MatchOS gave me error code 30183-44 (400). Although the devices I deploy to have en-gb as their language, en-us still applies the correct proofing for British users.
You should also create a second XML that specifies the uninstall job. For me, this is the below, saved as uninstall.xml.
<Configuration>
<Display Level="None" AcceptEULA="True" />
<Property Name="FORCEAPPSHUTDOWN" Value="True" />
<Remove>
<Product ID="O365ProPlusRetail">
</Product>
</Remove>
</Configuration>
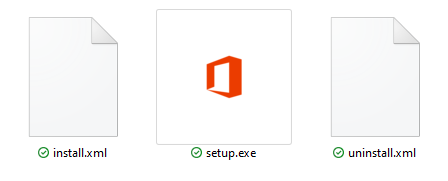
Now, you’ll have three files: two XMLs specifying install/uninstall options and one executable.
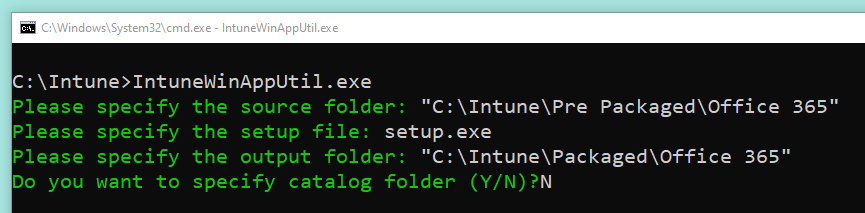
These should be packaged using the Win32 Content Prep Tool. That will take the three files and put them in one .intunewin file. The specific steps on this are covered in my Petri.com blog on Win32 packaging, but are summarised in the below screenshot.
After your .intunewin file is uploaded to Endpoint Manager, you need to specify the install and uninstall commands that reference your XML files. The format for these is setup.exe /configure filename.xml. For install behaviour, SYSTEM is needed for admin rights.

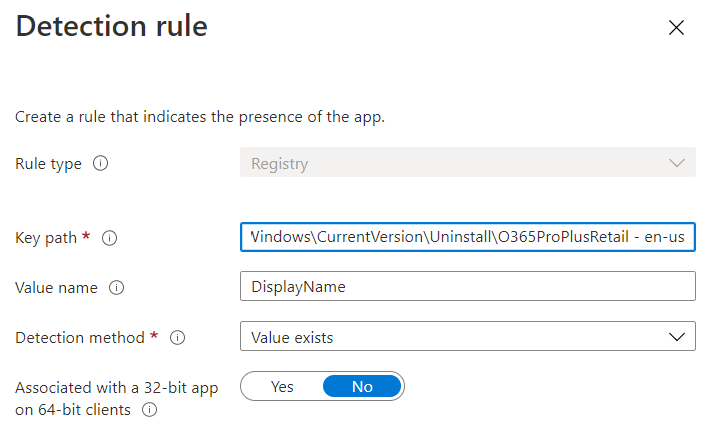
The remainder of the Win32 app settings is largely the same as any other Win32 app. For a detection rule, I use the existance of registry value HKEY_LOCAL_MACHINE\SOFTWARE\Microsoft\Windows\CurrentVersion\Uninstall\O365ProPlusRetail - en-us\DisplayName.

Assign the app to users or devices like any other Win32 app, and it should now deploy fine using the Click2Run engine, and you don’t need to worry about dependencies on the Office CSP deployment approach. If you have additional requirements for Visio or Project to be deployed or managed separately, check out the work Thijs Lectome has done on that here.